What is Applique?
Have you ever purchased an item with embroidery and noticed that some parts of the background in the design were not stitched with thread? Those particular elements were most likely created with a technique to minimize the usage of thread called applique. Applique originates from a French word, “appliquer,” which means “to apply.” This technique entails sewing an extra piece of fabric or twill onto the base fabric, securely stitching it in place, and using the additional fabric as the background of your design. There are various approaches to utilizing the applique technique. However, we will show you the most common way we set up our files for applique here at Embroidery Artificer.
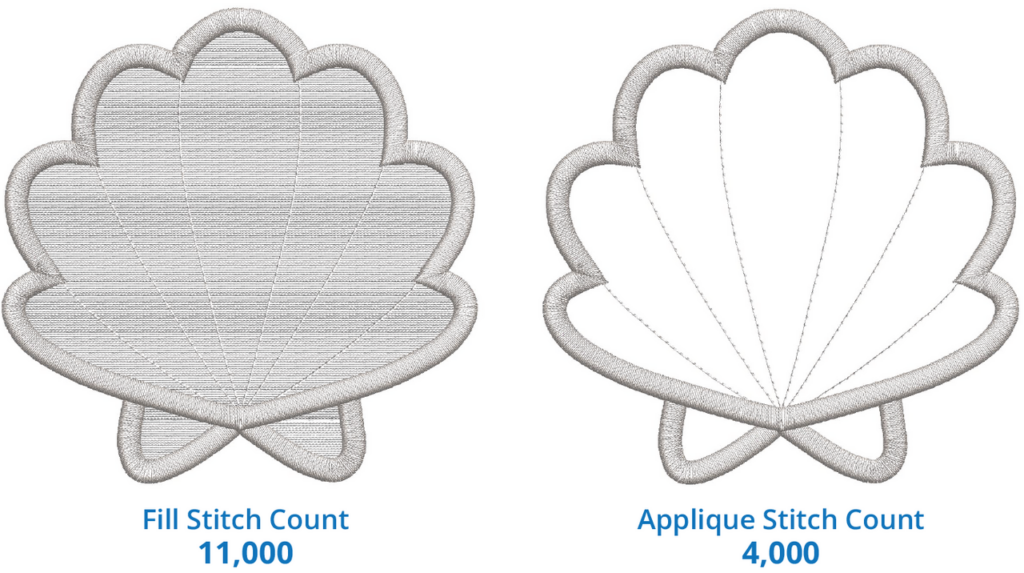
Now that you understand applique better, let’s explore when it is typically used. Applique can be employed based on two main considerations: stitch count and aesthetic appeal. If you have a substantial area of tatami fill, opting for applique can significantly reduce both time and stitch count. For instance, no one wants to spend hours stitching out a 100,000-stitch-count tatami fill on a full-back design. In such cases, utilizing applique is a practical choice that saves both time and effort.
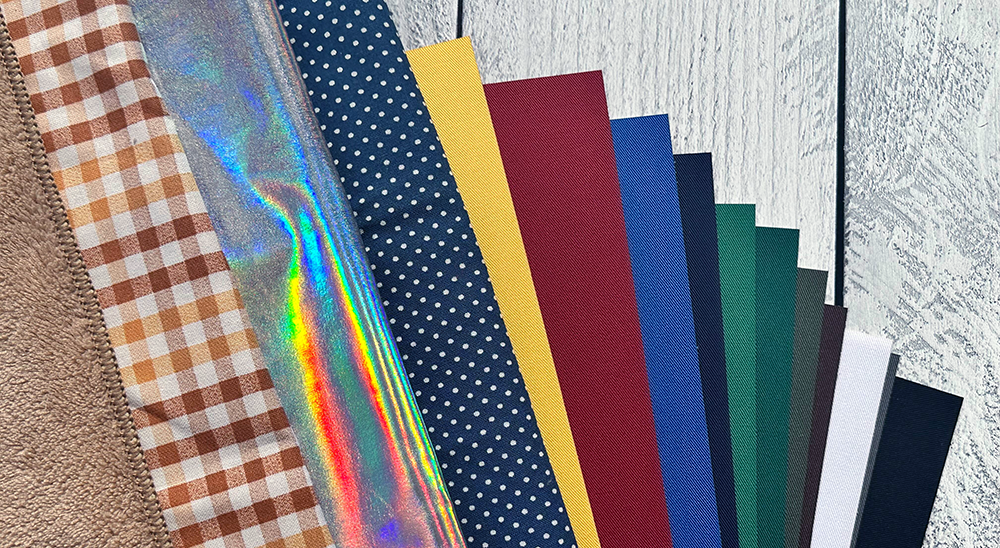
Applique can be used for various aesthetic purposes, utilizing felt, fleece, quilting cotton, and many others. In fact, applique can be accomplished with almost any material you can imagine. Its versatility allows for adding color, texture, and embellishment to enhance a piece. This technique is particularly popular in quilting projects and large jacket designs, where applique is frequently used to infuse designs with a vibrant and distinctive flair, setting them apart. Incorporating applique into your work is an excellent way to elevate your design and make it visually striking.
Types of Appliques
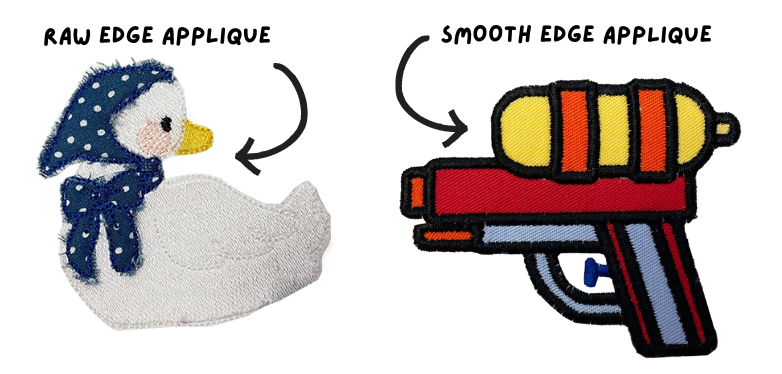
When it comes to applique, there are several stitching techniques available, including smooth edge, raw edge, reverse, and decorative stitches. In this blog, our primary focus will be on the smooth-edge applique style. With a smooth edge design, a neat and tight satin stitch is employed to conceal the raw edges of the additional fabric. This meticulous approach results in a tidy finish that appeals to consumers, leaving the piece with a polished and refined appearance.
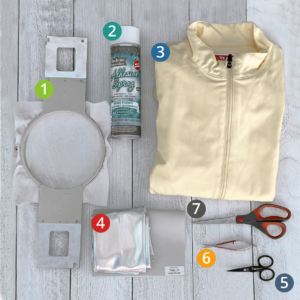
1) Hoop and Back 2) Adhesive Spray (optional) 3) Garment 4) Twill or any type of fabric 5) Curved Scissors 6) Curved Squeeze Scissors 7) Regular Scissors
Lets get started
We would like to begin by introducing you to a simple entry level design for applique, and how we executed the beautiful results. Included below is the complimentary .dst file that you can utilize to acquaint yourself with applique and this technique. While we will be using this file in our demonstration, we offer many free applique designs on our designated Free Designs page, found at www.www.embroideryartificer.com for your convenience. Before we commence with the sew-out, let’s first review the necessary supplies you will need to complete this project.
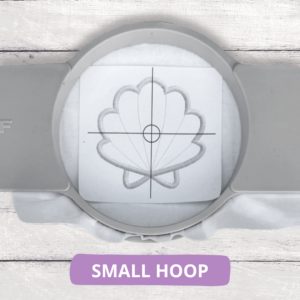
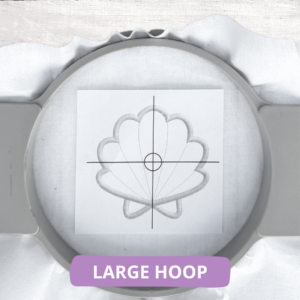
Step one – Hooping
The first step in any embroidery project remains the same. Start by using your scissors to cut your backing and securely hooping your garment along with the chosen backing material, to create a taut embroidering space. When working with applique designs, it is crucial to remember an essential tip which will be explained in more detail during our fifth step. This important tip is to always opt for a hoop that is slightly larger than your design. This precautionary measure will prove beneficial when we trim the design while it remains hooped, ensuring a more precise and accurate outcome. Check out our blog on backing if you are uncertain of which backing to use.
Step two – Uploading File
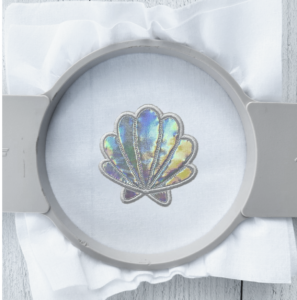
During the process of uploading the design to your embroidery machine, you will observe two additional steps that outline our sea shell. These steps consist of two running stitches known as the trace stitch and the placement stitch. It is important to assign distinct colors to these stitches to ensure that your machine accurately interprets the stop commands embedded within the file. This color differentiation is essential for seamless execution of the design.
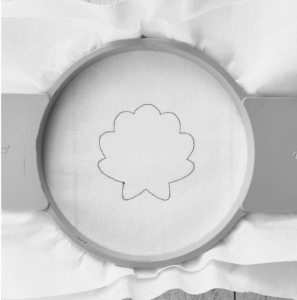
Step three – Trace Stitch
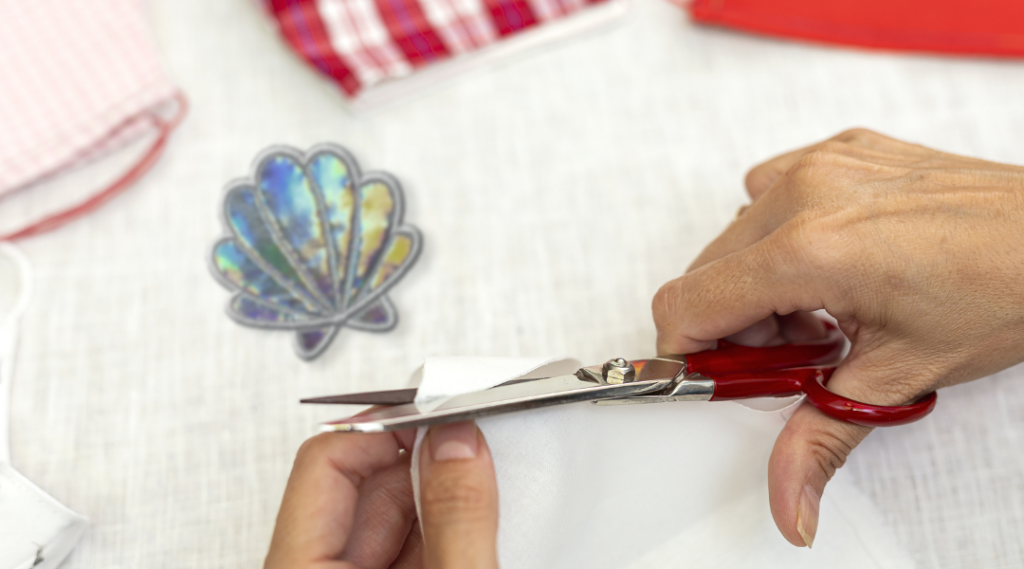
As you initiate the sewing process, you will observe that the machine executes a single stitch to outline the shape of the design before coming to a halt. This initial stitch, known as the trace stitch, serves as a guide for placing the twill fabric. At this stage, we will utilize the size of the trace stitch shape as a reference to cut out the twill fabric, ensuring it is slightly larger. There is no need to worry about cutting the fabric into the exact shape; a simple circle or square will suffice. If you have access to a stencil, you can pre-cut the fabric to the precise size, if desired. While optional, some individuals opt to use a spray adhesive to secure the fabric in place. However, it’s important to note that this may result in the needle accumulating residue, which will require more frequent needle changes.
Step four – Placement Stitch
Once the fabric or twill is properly positioned, we will proceed with the sew-out. You will observe a repeat of the single-stitch shape, slightly smaller in size. This is known as the placement stitch, serving the purpose of securing our new fabric in place. Upon completion of the single-stitch shape, you will notice that the machine stops once more.
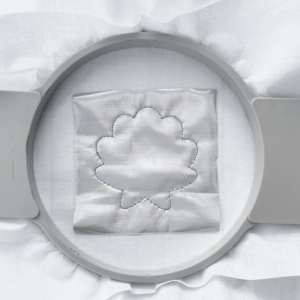
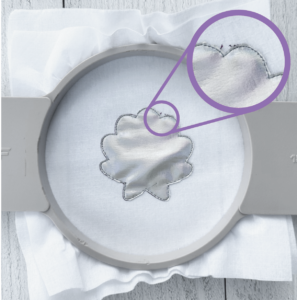
Step five – Trim
Now, it is time to carefully remove the hoop from the machine and utilize curved scissors to trim the excess fabric as closely as possible to the placement stitch. The edge of the design will still look rough due to the trimming of the fabric, however, once the satin edge completes the design this rough appearance with look smooth and clean. Although the clean edge satin stitch will help conceal any fraying fabric, it is advisable to avoid leaving any loose pieces that may peek through the stitching. The curved squeeze scissors is a great tool in getting any loose pieces.
Step 6 – Finish the design
Once we’ve trimmed the extra fabric off, it’s time to place the hoop back onto the machine and let the design finish. If you have any loose threads still peeking through, you can take a lighter to quickly burn them off.
In just six simple steps, you have the power to elevate your embroidery project with added flair or reduce the stitch count. While there are numerous techniques for utilizing applique, the approach outlined here is a common and straightforward method. If you have an alternative approach for setting up your applique, simply inform us at Embroidery Artificer when submitting an order or requesting a quote. Our team is dedicated to accommodating your specific workflow preferences and will gladly set up your file accordingly. Your satisfaction is our priority.
PRO TIP: Avoid fraying or unwanted loose threads by burning them with a lighter. A quick flicker of flame will seal the ends for a clean finish. Exercise caution for best results. Visit our Instagram page @www.embroideryartificer for more #prosewtips